
I have slowly but surely been working on a few DIY projects over the past weeks. I finally got all my materials together to make a mock-up of my bouquet. I actually ended up liking the final product so much that it will indeed be my bridal bouquet! Here's a breakdown of approximations of what I spent and used:Paper Kusudama Flowers
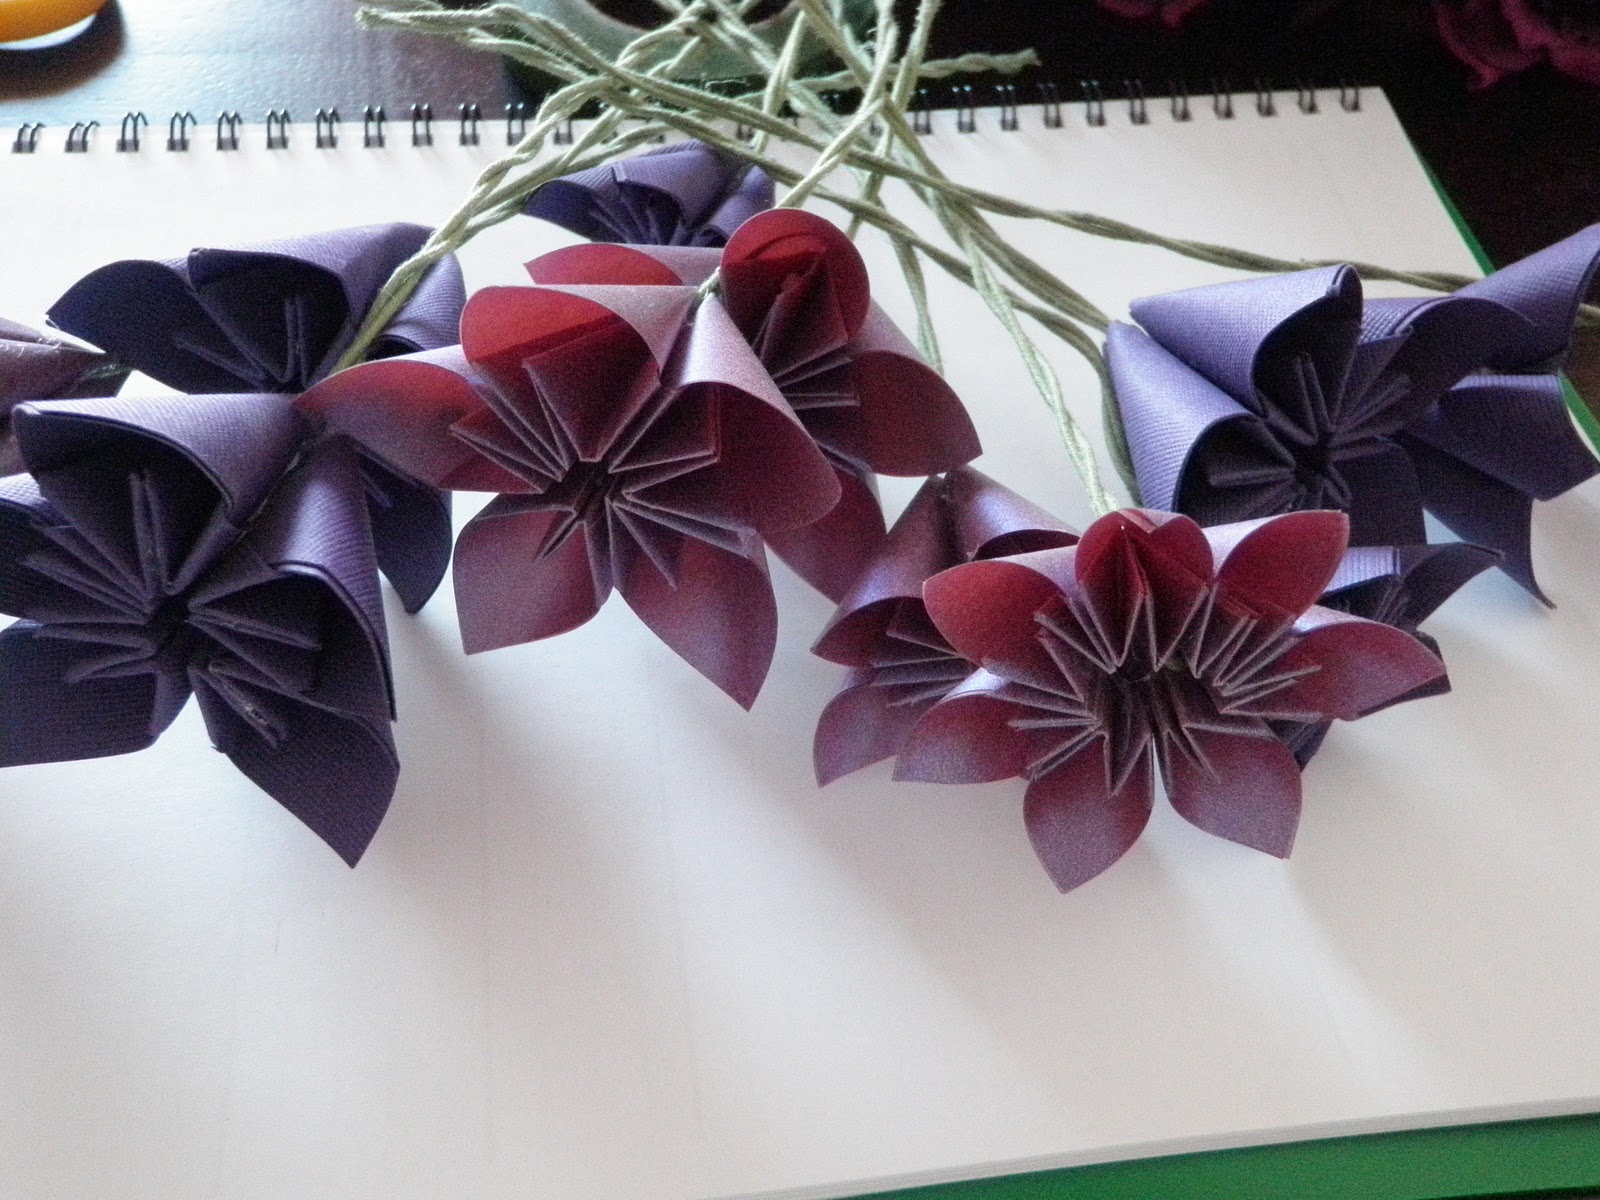
Trade-offs with the different paper styles: The vellum was MUCH harder to work with as it was slippery, and required me to hold the pieces together longer while the hot glue dried. (You can see in the photo the one near the bottom right is less than perfect. It wasn't working the way I wanted it to and I ended up using 6 petals instead of 5! I figured it'd add variety). But the card stock was really thick and made my fingers hurt from folding! In the final bouquet, I didn't end up using the cardstock flowers because they looked cheap and not very classy. I'd recommend spending the money on a thinner and prettier vellum or other paper. The flowers I made range from 2" squares of paper for each petal to 3" squares, because I wanted a variety of sizes. I glued in a wired floral stem into the middle of each. I'm still debating on "filling" the middle of each with a gem, but I'll decide later.
Cala Lilies

Open Roses

Bouquet Jewels


Using jewelry wire and extra swarovski bicone beads (the same ones I used to make the bridesmaid earrings), I made sparkly bouquet jewels! I just twisted one bead on, then two on each side. I then twisted a length of wire down and twisted the wire around the floral stem, to make more of a base for the bouquet jewels. I just made sure there was enough length of silver wire so you wouldn't see the green floral wire.
Putting It Together
This was my first time ever using floral tape or making any sort of bouquet. I learned that floral tape is some really cool stuff -- but it is also pretty fragile. You don't need to pull it very hard to get it to be tacky. Once I had the bouquet pulled together in my hand the way I wanted it, I had my fiance hold on to it so I could tape the stems together. I must have wrapped that sucker about 100 times!
After wrapping the base/stem and taking a look, I felt like I needed a little more fullness. I didn't feel like going to buy more flowers and taking it apart. Instead, I looked at my kitchen table and saw the pile of greenery that I'd cut off the roses, and attached them towards the base of the flowers. It made it 10 times better.
I simply used purple irridescent ribbon (the same ribbon I used on my card box) to wrap the base of the stem and tied two pretty bows on each side. I LOVE the way it turned out! It goes perfectly with my purple shoes, too.
Now, I've begun folding paper flowers in a pearly-white color. All six of my bridesmaids will carry bouquets that match this, except in white/cream.


Wow this is impressive! They look great!
ReplyDeleteThis is gorgeous and somewhat similar to the bouquet I'm working on! May I ask, what material did you use to make the stems for the kusudama flowers?
ReplyDelete